Wednesday, October 22, 2014

30 CSS3 Text Effects


1. How to Create Inset Text With CSS3

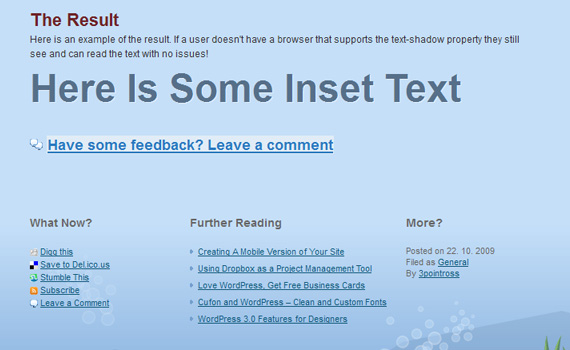
Inset-css3-text-effect-tutorials
In this tutorial you are going to use the text-shadow property that is currently supported by most of the major browsers to create the appearance of inset text. Inset text being text that has been pushed into the background, almost like a reverse embossed effect.

2. 3D Text

3d-css3-text-effect-tutorials
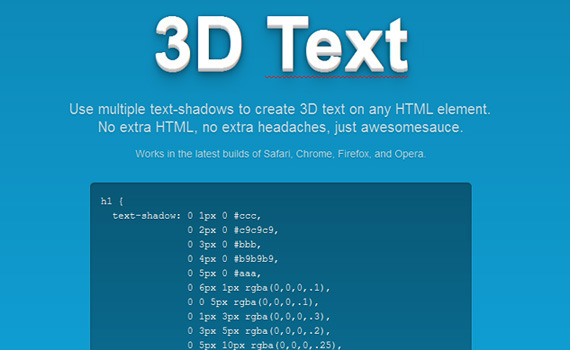
This is an example of 3D text created merely with CSS3. Use multiple text-shadows to create 3D text on any HTML element.
No extra HTML, no extra headaches, just awesomesauce.

3. Cool Text Effects Using CSS3 Text-Shadow

Shadow-css3-text-effect-tutorials
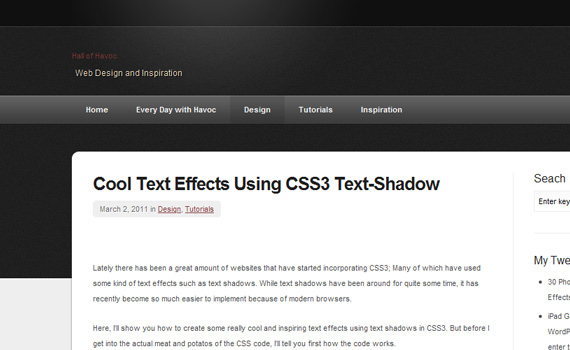
This tutorial shows you how to create some really cool and inspiring text effects using text shadows in CSS3.

4. Letterpress Effect with CSS Text-Shadow

Pure-letterpress-css3-text-effect-tutorials
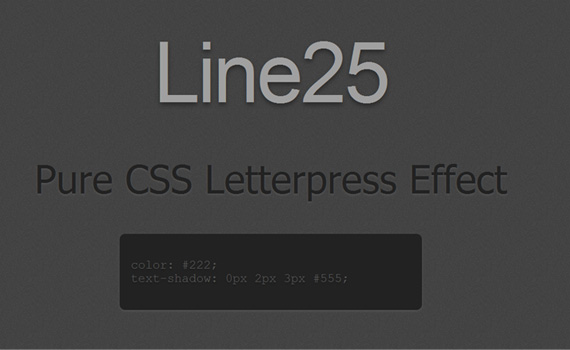
The letterpress effect is becoming hugely popular in web design, and with a couple of modern browsers now showing support for the text-shadow CSS3 property it’s now simple and easy to create the effect with pure CSS.

5. Letterpress Text Effect Using Photoshop and CSS
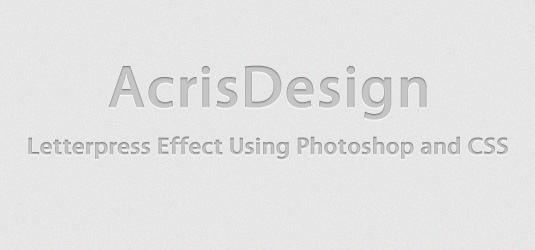
Letterpress-photoshop-css3-text-effect-tutorials

Letterpress effect looks good in modern websites, letterpress effect can be gain using Photoshop and also using text-shadow property of CSS. This tutorial will show you how to achieve letterpress effect with Photoshop and also with pure CSS.

6. Text Embossing Technique With CSS

Text-embossing-css3-text-effect-tutorials

Text embossing has become a huge trend in last couple of years. This tutorial describes how to implement this effect with CSS.

7. Subtle CSS3 Typography that you’d Swear was Made in Photoshop

Subtle-typography-css3-text-effect-tutorials
Learn to use CSS3 text shadows, outlines, transitions, and even text gradients to create cool typography that you’d swear had to be made with a program like Photoshop.

8. Outline Your Text Using the CSS3 text-stroke Property

Outline-css3-text-effect-tutorials
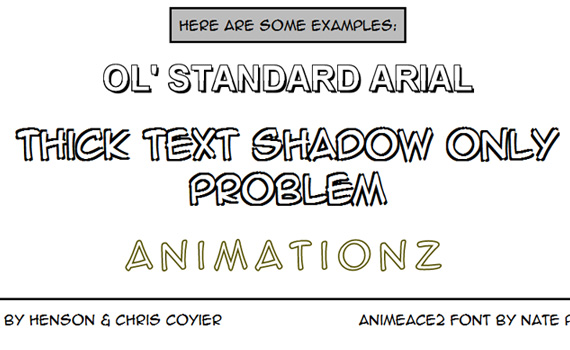
This tutorial shows you how to add an outline, or stroke, to your text using the CSS3 text-stroke property.

9. How to Create a Cool Anaglyphic Text Effect with CSS

Cool-anaglyphic-css3-text-effect-tutorials
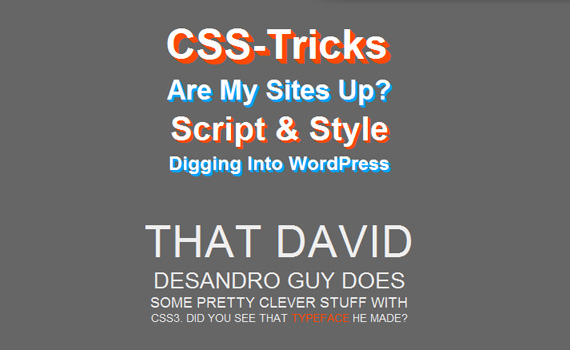
In this tutorial you’ll create a cool transparency overlay effect that closely resembles anaglyph stereoscopic 3D images. To use the effect in  web designs you’ll of course build it with CSS, but the main consideration is to keep everything neat and true in our markup.

10. CSS3 Tutorial: How To Change Default Text Selection Colour

Change-selection-color-css3-text-effect-tutorials
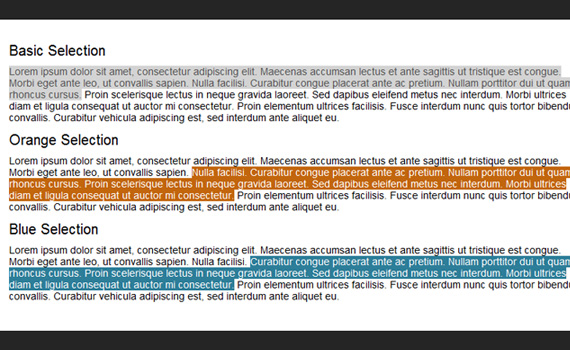
Whilst this CSS3 declaration might not be crucial to your project or design and is not supported by all browsers, it’s a fantastic effect that really takes your design one step further.

11. 8 CSS3 Text Shadow Effects

Shadow-cool-css3-text-effect-tutorials
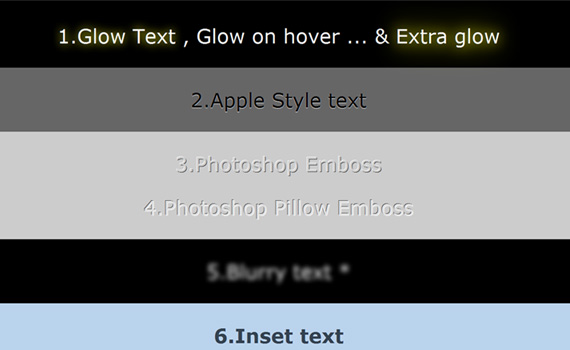
This post covers eight cool text effects you can achieve using CSS3 text-shadow property only .

12. Text Rotation with CSS

Rotate-css3-text-effect-tutorials
In this tutorial you’ll learn to rotate text without images using the transform property.

13. CSS3 Shining Text, CSS2 Flaming Text

Shining-css3-text-effect-tutorials
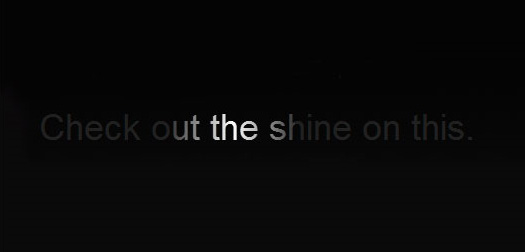
Create a fun flaming text effect simply by using some JavaScript and the good old CSS2 property text-shadow and shining text using CSS3 properties and animation.

14. Create Beautiful CSS3 Typography

Beautiful-typography-css3-text-effect-tutorials
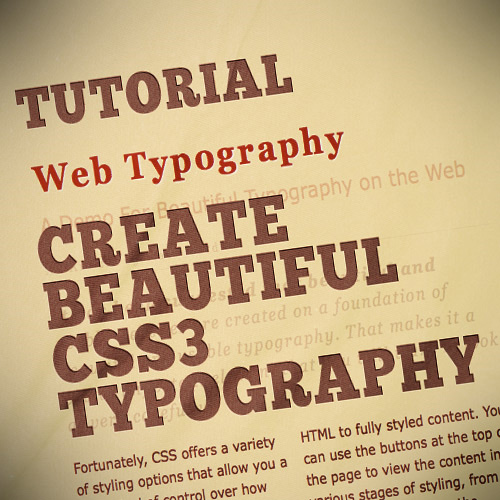
This tutorial will teach you how to take basic markup and transform it into an attractive and beautiful typographical design through pure CSS3. There are no images or other external resources, just pure CSS magic.

15. CSS3 Cookbook: 7 Super Easy CSS Recipes to Copy and Paste

Cookbook-css3-text-effect-tutorials
In this tutorial you’ll find seven fun and attractive CSS tricks that you can grab and insert right into your own projects and customize at will. Keep in mind that since this stuff is still cutting edge, older browsers won’t support most of it.

16. 3D Text Hover

3d-hover-css3-text-effect-tutorials
Learn how to create multiple text shadows using CSS3 text shadow property.

17. Adding Stroke to Web Text

Stroke-css3-text-effect-tutorials
Replace programs like Adobe Illustrator and learn how to add stroke to web texts using WebKit.

18. CSS3 Text-Shadow – Can It Be Done in IE Without JavaScript?

Shadow-ie-css3-text-effect-tutorials
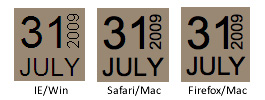
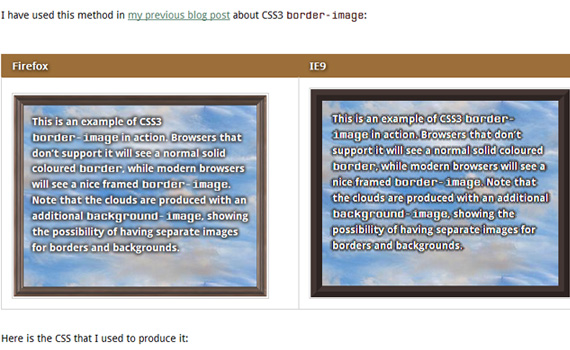
IE9 does support the majority of the CSS3 properties, however it doesn’t support image-border and text-shadow properties. This article will deal with text-shadow: how it works in browsers that support it, and strategies developers can use today to emulate some of its functionality in IE.

19. I Heart Blur
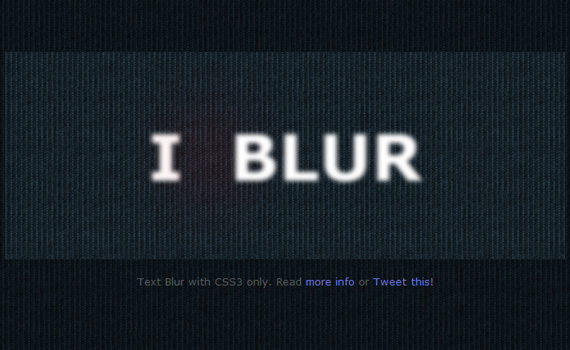
Blur-css3-text-effect-tutorials

It ain’t exactly a tutorial, however you should check out the code used to create this stunning effect to learn how to add blur to text without using bunch of text-shadow properties.

20. How to Create Inset Typography with CSS3

Inset-typography-css3-text-effect-tutorials
In this tutorial, you’ll learn to create inset type, a popular text treatment, using only CSS.

21. Quick Tip: Pure CSS Text Gradients 

Pure-gradients-css3-text-effect-tutorials
In this short video tutorial you’ll learn how to apply gradients to texts using webkit.

22. CSS3 Background-Clip: Text

Selectable-css3-text-effect-tutorials
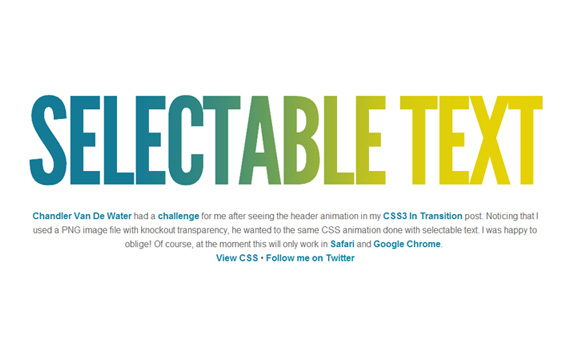
Learn to apply CSS transition on a selectable text.

23. How to Use Text Shadow /w CSS3

Shadow-use-css3-text-effect-tutorials
CSS3 presents many new possibilities when it comes to text effects on websites. The text-shadow property is one of these awesome abilities. This article covers 5 great effects you can achieve using CSS3 text-shadow.

24. CSS3 Poster With No Images

Poster-css3-text-effect-tutorials
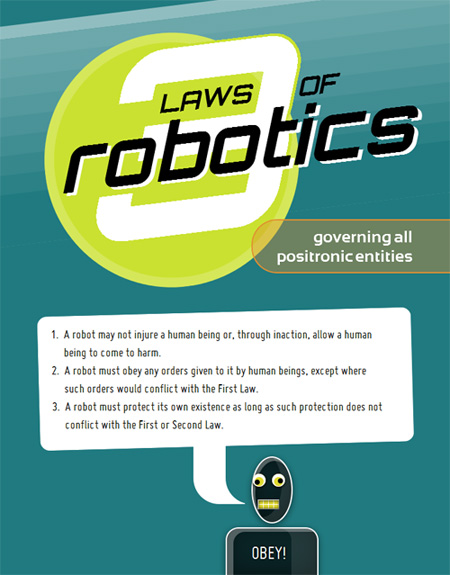
An experiment showing the power of CSS3 techniques. This one uses lovely bits like box-shadow, border-radius, @font-face, transform, box-sizing, text-shadow, RGBa. You can check out the code to discover these impressive features.

25. Creating a True Inset Text Effect Using CSS3

Inset-text-css3-text-effect-tutorials
This inset text tutorial differs from others because besides default text-shadow it also uses inner shadow property.

26. 3D CSS Shadow Text Tutorial

3d-shadow-text-effect-tutorials
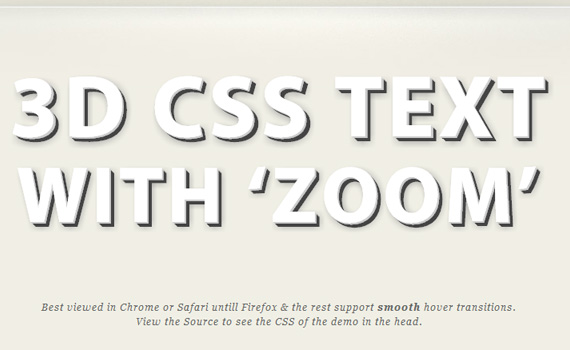
This easy CSS text shadow tutorial will show you step by step how to create 3D font with multiple css shadows by stacking multiple CSS3 text shadow properties, then go a step further and use the CSS text transform and CSS transition properties to make the 3D text pop out / zoom on hover.

27. How To Create 3D Text Using CSS3

3d-using-text-effect-tutorials
Learn how we create 3D text using CSS3 text-shadow to heading and paragraph tags.

28. Font Sizing With Rem

Font-sizing-text-effect-tutorials
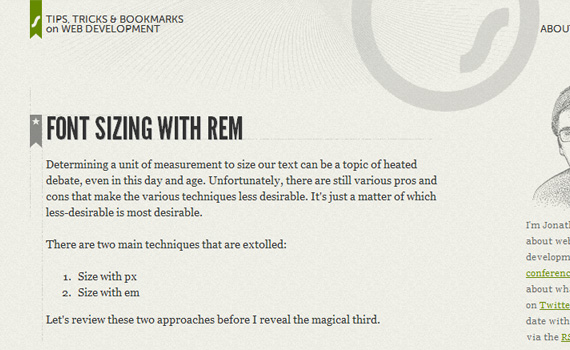
CSS3 introduces a few new units in font sizing, including the rem unit, which stands for “root em”. Take a look at it’s features and learn how to create resizable text in all major browsers.

29. Create Attractive Web Typography with CSS3 and Lettering.js

Attractive-web-typography-css3-text-effect-tutorials
In this tutorial, you’ll look at how to take basic markup and transform it into an attractive typographical design using only minimum images, pure CSS3 magic and we will spice things up with lettering.js – a jQuery plugin for radical web typography.

30. CSS Text Shadow
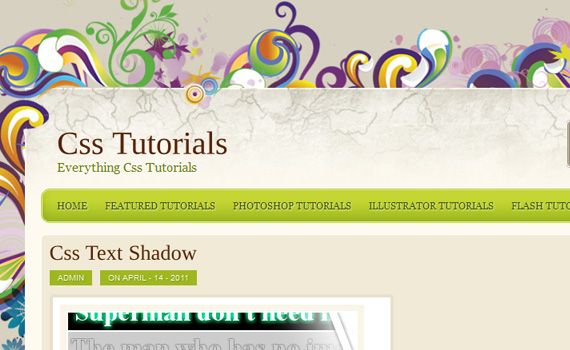
Shadow-2-css3-text-effect-tutorials

Another tutorial taking you through all the advantages CSS3 text-shadow can give.
CSS & Parallax effects

The idea of a parallax effect is to make it so the background is moving at a different speed then the foreground. There are many different ways to do this.  One of the most common ways to do this is using jQuery and JavaScript.  But it is possible to do it only using CSS.

Here is a list of different sites that have tutorials on how to create that parallax effect. These are great and will give you a lot of very useful information.  But I think I found a tutorial that is MUCH easier to work with and only uses CSS.

http://keithclark.co.uk/articles/pure-css-parallax-websites/

In this tutorial Keith demonstrates how to use CSS transforms, perspective and some scaling trickery to create a pure CSS parallax scrolling website. If I had to choose one to use, it would be this one ...

PARALLAX SLIDER WITH JQUERY

parallax_slider

Building a Parallax Scrolling Storytelling Framework

Parallax-Scrolling-Tutorials-2

FLUID CSS3 SLIDESHOW WITH PARALLAX EFFECT

Parallax-Scrolling-Tutorials-3

PARALLAX CONTENT SLIDER WITH CSS3 AND JQUERY

Parallax-Scrolling-Tutorials-4

Simple Parallax Effect Tutorial

Tutorial || Demo
Parallax-Scrolling-Tutorials-5

Parallax Effect

Parallax-Scrolling-Tutorials-6

Parallax scrolling website interfaces

Parallax-Scrolling-Tutorials-7

Create a Funky Parallax Background Effect Using jQuery

Parallax-Scrolling-Tutorials-8

Scrolling Parallax

Tutorial || Demo
Parallax-Scrolling-Tutorials-9

A Simple Parallax Scrolling Technique

Parallax-Scrolling-Tutorials-10

Create a Parallax Scrolling Website Using Stellar.js

Parallax-Scrolling-Tutorials-11

One Page Website, Vertical Parallax

Parallax-Scrolling-Tutorials-12

The parallax effects with jQuery

Parallax-Scrolling-Tutorials-13

JQUERY PARALLAX – ANIMATED HEADER

Parallax-Scrolling-Tutorials-14

Super Easy Parallax Effect with jQuery

Tutorial || Demo
Parallax-Scrolling-Tutorials-15

Wednesday, October 15, 2014

MySQL Informational Links (Not really tutorial stuff)

MySql Database Links


Informational Links (Not really tutorial stuff)

How to change a column's size or type in MySQL

How to Change a Column Name in MySQL
How to change the name of a column in a MySQL database

Geometry Functions in PHP
PHP Functions that deal with geometry, and how to use them in your programming

Getting Started with MySQL
Just the basics you need to learn MySQL.

Learn MySQL: Understanding MySQL
Before you start learning SQL commands, it is important to understand these concepts about how a database is organized, and what data it can hold.

Learn MySQL: Create a Database in MySQL
How to create a new database in MySQL using SQL code or phpMyAdmin.

Learn MySQL: Creating tables in MySQL
Learn to create tables in a MySQL database through phpMyAdmin or through a command line.

Learn MySQL: Managing MySQL data
Manage your MySQL database by adding data, editing data, searching data, and removing data.

Learn MySQL: Using MySQL Joins
Learn how to use MySQL joins to create dynamic reports from data spanning across multiple tables.

Learn MySQL: Ordering MySQL Data
How to sort your MySQL data using a SQL Order By statement

Altering Existing Tables
How to use the MySQL alter table command, and what to combine it with to do different things to your existing tables.

Backup & Restore MySQL Databases
Backup and restore MySQL databases from a command prompt or phpMyAdmin

How to change the size of a MySQL column.
You may need to change the size of a table in MySQL after you've made the database. This free tutorial shows you how to do it.

Course Syllabus

Course Syllabus

Course Code/Course Title: IM240 Intermediate Authoring

Instructor:  William Hogan
School E-mail:  WHogan@aii.edu
Alt E-Mail: AI.WHogan@gmail.com
Location: Art Institute of Tucson Campus  (Main 213)
Day/Time: Wednesday 1:00pm - 5:00pm

Course Description: 
This course will build on the skills taught in the Introduction to Authoring class. Students will design production quality interactive media presentations using intermediate-level scripting techniques focusing on good user interface design and usability.

Course Competencies
Upon successful completion of this course, the student should be able to:

Describe needs analysis as it pertains to usability ·
Demonstrate a working knowledge of intermediate level scripting techniques ·
Demonstrate a working knowledge of how to integrate audio, video, graphics and animation as they relate to interactive presentations ·
Demonstrate a working knowledge of interactive project management ·
Display advanced knowledge of cross-platform compatibility issues


Course Length: 11 weeks
Contact Hours: 44 hours
Lecture: 22 hours
Lab: 22 hours
Credit Value: 3 credit hours


Course Prerequisites:  
IM220 Introduction to Authoring

Textbook Required: 


Materials: Digital storage

Estimated Homework: 4 hours weekly

Student Evaluation/Grading Policies:

Class time will be spent in a productive manner.
Grading will be done on a point system.
Points for individual activities will be announced.
All work must be received by the set deadlines.
Late work receives a grade of zero.
On-time projects may be redone with instructor approval.
ABSOLUTELY NO WORK WILL BE ACCEPTED AFTER THE FINAL CLASS MEETS WEEK 11.

Grading Scale:

All assignments must have clear criteria and objectives to meet. All students shall be treated equitably. It will be that student’s right to know his/her grade at any reasonable point that information is requested by that student. The criteria for determining a student’s grade shall be as follows (on a percentage of total points basis):

Assignment 1 100
Assignment 2 100
Assignment 3 100
Assignment 4 100
______________________________
Total Points Possible 400


A 100-90
B 89-80
C 79-70
D 69-60
F 59 or below
Late Work 50%

Passing letter grades (A through D) will be converted to the highest number in the corresponding range when averaging. This class will have projects with established point values for the grading system; letter grades will not necessarily be given for individual assignments but will certainly be used for mid-term and final reports.

Late Work Policy:

It is vital to maintain a realistic, firm and fair classroom policy as it applies to grading, attendance, etc. The nature of our business requires deadlines, and they must be enforced without exception. Students will be expected to use their class time in a productive manner. Grading will be based on the criteria of the project. The quality of the work and high standards of the department will produce the best portfolios and prepare students to enter the job market with confidence in their abilities and achievements.

All work is due at deadline. This means that it must be turned in exactly when specified by the instructor. Any student who does not turn in his/her work by the specified deadline will receive ½ credit at best Unfinished work may be turned in at the time of the deadline but will be marked “unfinished” and will be graded accordingly. Late work may be evaluated for criteria but given no grade. Students, who wish to redo on-time projects, may do so only with the approval of their instructor. These projects will be considered Extra Credit. The due dates for these projects are to be set by the individual instructors. If a student is ill or otherwise indisposed, he/she must make arrangements to have the work delivered on time. Work must be turned in before or on deadline for planned absences (court dates, etc.).  ABSOLUTELY NO WORK WILL BE ACCEPTED AFTER THE FINAL CLASS MEETS.


Class Policies:

No food allowed in class or lab at any time. Drinks in re-closeable bottles allowed in classroom.
Edible items brought to class or lab must be thrown out.
If student elects to eat/drink outside class or lab door, missed time is recorded as absent.
Attendance is taken hourly. Tardiness or absence is recorded in 15-minute increments.
Any students absent in class or lab a combined total of 12 hours may be suspended from the course and awarded a grade of F.
Break times are scheduled 10 minutes for each hour of class.
No private software is to be brought to lab or loaded onto AiTucson computers.
No software games are allowed in lab (unless in course curriculum).
Headphones are required if listening to music during lab. No headphones are allowed in lecture.

Instructor Availability Outside of Class:

Messages may be left for the instructor via e-mail system.
Appointments may be scheduled at instructor/student convenience.

Why You Are Here:

The sole purpose of any vocationally oriented program is to prepare students as well as possible to function competently in a professional environment. For the educational program to accomplish this goal requires that students be exposed to a variety of experiences dealing with every possible discipline that they will regularly encounter in their profession. Professionalism shall comprise an important aspect of how the student/teacher relationship will function. The criteria for assessing what is considered professional attitude is based upon accepted standards of professional ethics. Students should be conscious of the following areas at all times: tardiness/attendance, appearance, plagiarism, and professional social skills.

Conduct Research:  

Each student is required to conduct industry and course-related research through the use of the school’s Library print and digital resources.  The ability to effectively utilize and access information is a vital and essential aspect of your education as well as a strong enhancement of the learning experience.

Disability Policy:

It is the Art Institute of Tucson’s policy not to discriminate against qualified students with a documented disability in its educational programs, activities, or services. If you have a disability-related need of accommodations in this class, contact Tamara Birch, Director of Student Affairs and Career Services

Academic Honesty:

The Academic Affairs Team of The Art Institute of Tucson fosters a teaching/learning environment where academic honesty must be maintained. Students are ultimately responsible for following this policy by presenting their own work and properly crediting other contributors or sources. Sometimes, students are uncertain about what constitutes appropriate citation of work by others. If you are unsure how to document work written or presented by others, it is your responsibility to ask for help. Resources are available in the library or ask your instructor.
I.T. Stuff
We will do most of our communication and file sharing through the Art Institute portal - myeclassonline (Image manipulation) handouts, weblinks, turning in assignments, checking grades, downloading lesson files. All is done from here.

File Storage: You will need to keep a copy of all your work. School computers, especially laptops, get purged daily so you cannot store files on them.  2GB should be enough space for this class.  Create a IM240 folder and make a separate folder for lessons and projects and your own research or images. Do this on your own computer.

File transport: Use a USB drive to bring files to and from class.
HINT: Last quarter 2 students USB drives went band and they lost their work cause that was the only place it was being stored

In Class Work: I recommend that you save and work on files on the desktop, then copy to USB when done.  USB drives are not as good as main hard drives on the school computers

Fonts: If you work at home you may have different fonts than Art Institute does, so put them on your portable drive and then they can be activated for use at School

Submitting your Work & Due Dates:
Assignments are due by the end of class on Friday via DocSharing in eCompanion. Make sure to use the Turn-In folder.  If you are not able to turn it in via DocSharing you are also able to turn it in to the Shared Google Docs folder by 10:00pm on Saturday. When turning in your work please use the following naming convention to label your files.  Last Name.First Name.Project #.psd. For example: Hogan.William.Project1.psd.

Communication:
You must check your student email regularly or be certain your personal email is connected to the class email system.  Check the course page regularly for important class information. You can email me at WHogan@aii.edu or at ai.WHogan@gmail.com.  I am also available on GoogleTalk via AI.WHogan@gmail.com

Weekly Schedule
*NOTE: The following schedule is based on an 11-week quarter and is provided as a general outline of the course. It
may be modified, depending on how the class is performing, to accommodate holidays or for other unforeseen reasons. Changes in class work and homework will be given in class on a week-by-week basis, so it remains important for you to attend all classes.


Week 1-2  Build a responsive mobile template.

Week 3  Add responsive desktop styles with dynamic navigation.

Week 4  Add Responsive Tablet Styles with dynamic navigation

week 5 Add graphic design and a print style sheet.

week 6 Add Javascript functionality

week 7 TBD

Week 8 TBD

Week 9 TBD


Assignment 1: Basic Mobile Site

Overview:

The goal of this assignment is to give you experience in designing a mobile-first website.  For this assignment we are going to be focusing on the smallest of the devices, the phone.  It doesn't matter what size phone at this point, we can assume that all phones will be about the same size.

You are to create a portfolio style page that is going to be viewed on a phone. You will want at least 3-4 different pages all using the same theme.

Here is a list of same pages you might want to create.  You do not have to create all of them if you do not want to

Main page
Artwork / Portfolio
Biography / Artist Statement
Contact
Resume

The focus of this assignment isn't adding in a lot of functionality yet, we can add that down the road.  The goal of this assignment is to create a template that we can use to create pages down the road

Things to think about:

Some things you are going to want to think about ...

Having smaller mobile versions your images
Making sure that all pages have a similar feel and color scheme
Is your design going to change based on how they hold their phone?
Landscape vs Portrait

Assignment 2: Tablet Design

Overview:

The goal of this next assignment is to expand on the basic mobile site that you created earlier. For this assignment we are going to be focusing on the middle sized devices, the tablet.  When designing for tablet you have to keep a number of things in mind, tablets come in all shapes and sizes.  You might need more then one design in the end.

You are to create a portfolio style page that is going to be viewed on a tablet. You will want at least 3-4 different pages all using the same theme.

Here is a list of same pages you might want to create.  You do not have to create all of them if you do not want to

Main page
Artwork / Portfolio
Biography / Artist Statement
Contact
Resume

The focus of this assignment isn't adding in a lot of functionality yet, we will begin to add that in the next assignment.

Things to think about:

Some things you are going to want to think about ...

Since tablets have more screen space and are rarely viewed over a cell network, you don’t have to worry about lower quality versions of the images
Making sure that all pages have a similar feel and color scheme
Does your design change based on how they hold their tablets ...
Landscape vs Portrait.